LabVIEW For Beginner
Laboratory Virtual Instrument Engineering Workbench (LabVIEW) is a system-design platform and development environment for a visual programming language from National Instruments.
The graphical language is named "G"; not to be confused with G-code. Originally released for the Apple Macintosh in 1986, LabVIEW is commonly used for data acquisition, instrument control, and industrial automation on a variety of operating systems(OSs), including Microsoft Windows, various versions of Unix, Linux, and macOS.
The latest versions of LabVIEW are LabVIEW 2017 and LabVIEW NXG 1.0, released in May 2017.
How to use labview
as we all know every program is opened by a double click , but each one has it's own interface.
on labview we have this start page as it's shown in image 1 . this page show us our VI's and projects and also we can make a new file with it .
you can either open a blanck VI or a blanck project, but a blanck project is always more professional in work.
after opening it a new window will show up, you make a right-click on my computer and then we click on new VI(image2) . A new window will show up(image3).
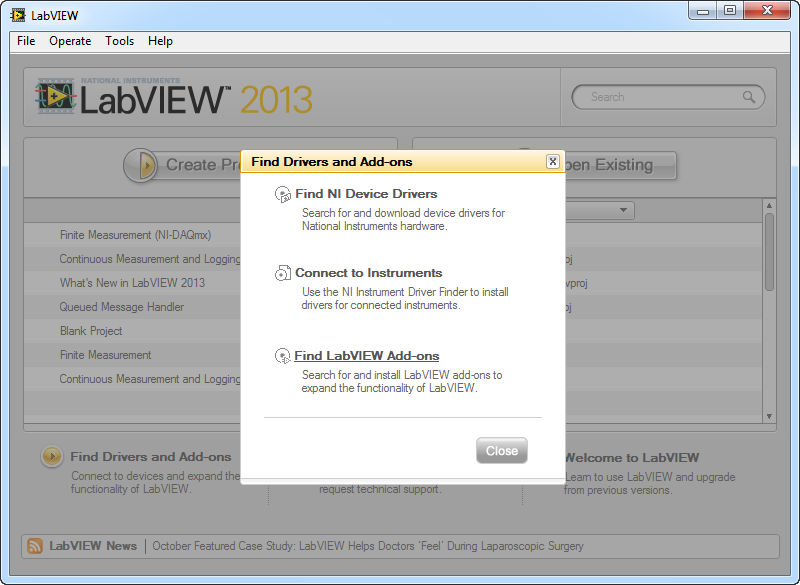
image 1
image 2

image 3
Front Panel
the front panel represent the HMI of labview, it has all the controls and the indicator, also we can found other data as arrays,images,...
this window make the program using easier.
a right click show us the contols menu as it's shown

Block Diagram
this one is for programming our projects and test it. but ...
how we could make aprogram if we can write nothing on it ??!!
well this is the benefit of 'G' code, every thing is graphical
a right click show us the functions menu as it's shown

as a start we ll make a simple VI which is calculate the sum of two numbers and display the result
VI creation
- Select: New VI (VirtualInstrument)
- Select the front panel (gray)
- right click → Commands
- Move the mouse to 'Numeric'

- A sub-window appears with numerical controls
Digital indicator
- Select 'digital indicator' (top left): move the mouse over it then left click
The digital indicator will display the result.

- The cursor changes → main
- Move the cursor to the front (gray) → double dotted box
- Move this box to the desired position (left click)
- A default label ('Digital') is automatically created and highlighted
- You can change the text immediately (for example: 'result')
- You can also change the label later
Basic VI Example

Diagram (the operational part)
- Visualize the diagram <ctrl + E> to move from face to face ↔diagram
- LabVIEWa placed a terminal on the diagram that is linked to the indicator placed on the front panel
- You can move this terminal where you want on the diagram, it does not change anything on the front
- on a front panel object → diagram terminal
- on diagram terminal → front panel object

DBL is the type of output (real double)
We can change this type later
Add a function

- Always on diagram, <right click> → the function palette appears
- Move the mouse → on numerical → the palette "numerical" appears with the mathematical functions
- Click on the function "add"
- Move the mouse towards the diagram → on see the function under the cursor in the shape of a hand
- Place the cursor on the left of the indicator terminal 'result'
- <left click> to set the function
We will now add the mathematical addition function.
Add constants
- Always on diagram, <right click> → the function palette appears
- Move the mouse → on numerical → the palette "numerical" appears with the mathematical functions
- Click on the function "numerical constant"
- Move the mouse towards the diagram → we see the function under the cursor in the shape of a hand
- Place the cursor on the left the operator 'sum'
- <left click> to put the function
- change the value of the constant to1
- add a second constant = 3
wiring
- In the tool palette <shift + right click>, select the wiring tool (like a spool of thread) the cursor changes shape (coil)
- position the cursor on the first constant → it flashes
- <left click >, move the mouse → dashed line
- Move the cursor to the 'add' function (+)
- ...
- When the cursor arrives on the function, it starts to flash under the cursor at the connection terminals
- Short connection lines also appear
- input terminals on the left
- output terminals on the right
- Click on the connector top left
- The cable is orange solid: valid wiring
Wiring -directions
- The cables always go horizontally or vertically, never diagonally
- By default, there is a change of direction by cable, but
- You can change the initial direction (horizontal or vertical) by pressing <space bar>
- On can impose intermediate points by <left click>
Complete the wiring of the function
- Wire the second constant to the function (+)
- Wire the output terminal of this function to the 'result' indicator
diagram completed

and now you completed your first VI on LabVIEW .
enjoy reading and learning
Aucun commentaire:
Enregistrer un commentaire